Exposure Modes Explained
A walkthrough of Auto, Program AE, Shutter Priority (S), Aperture Priority (A), and Manual (M) exposure modes available on Mavica cameras.
Exposure mode progression across the Mavica lineup
Not every Mavica offers the same exposure controls. Sony gradually added more manual control in higher-end and later models:
| Exposure Modes | Models |
|---|---|
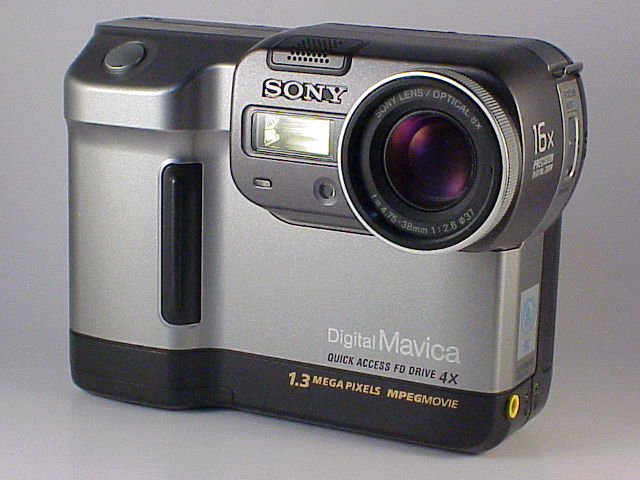
| Auto only | FD5, FD51, FD71, FD73, FD75 |
| Auto / Program AE | FD7, FD81, FD100 |
| Auto / Program AE / S / A | FD83, FD85, FD87, FD200 |
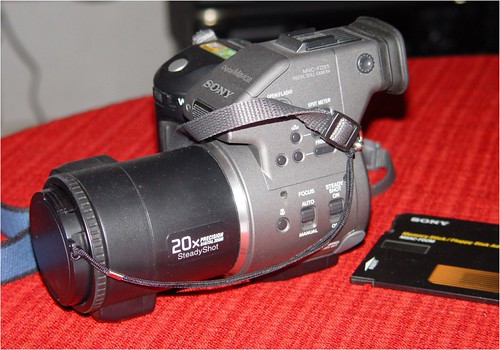
| Auto / Program AE / S / A / M | FD88, FD90, FD91, FD92, FD95, FD97, CD-series |
What each mode does
Auto
The camera controls everything — shutter speed, aperture, white balance, and ISO sensitivity. You just point and shoot. On the simplest Mavica models this is the only option.
Program AE (P)
Similar to Auto, but you can override certain settings like white balance and exposure compensation (±1.5 EV on most models). The camera still picks shutter speed and aperture automatically, but it follows a programmed curve that balances the two.
Shutter Priority (S)
You choose the shutter speed; the camera sets the aperture to match. Useful for:
- Freezing motion — set a fast shutter (1/500 or higher)
- Motion blur — set a slow shutter (1/30 or slower)
- Long exposures — some models allow up to several seconds
Aperture Priority (A)
You choose the aperture; the camera sets the shutter speed. Useful for:
- Maximum light — open to the widest aperture (lowest f-number)
- Maximum depth of field — stop down to f/8 or smaller
On Mavica sensors, depth-of-field control is limited due to the small sensor sizes, so Aperture Priority is most useful for managing light levels rather than bokeh.
Manual (M)
You control both shutter speed and aperture. The camera's meter shows whether the scene is over- or under-exposed, but the final choice is yours. Essential for:
- Consistent exposure across a series of shots
- Tricky lighting (backlit scenes, mixed lighting)
- Long-exposure creative work
- Flash photography where you want specific settings
Exposure compensation
On models with Program AE or higher, you can dial in exposure compensation — typically ±1.5 EV in half-stop increments. This tells the camera to intentionally over- or under-expose relative to what the meter suggests.
Common uses:
- +0.5 to +1.0 EV for snow, bright sand, or white subjects (prevents underexposure)
- -0.5 to -1.0 EV for dark subjects or dramatic moody shots
Practical advice
For beginners new to Mavica photography, start with Program AE and use exposure compensation to fine-tune. Graduate to S or A mode when you want specific creative control. Manual mode is most useful for long exposures and consistent studio-style shooting.
Related Knowledge
Long Exposure on Mavica
Techniques and limitations for long-exposure photography on cameras with fixed or limited shutter speed control.
TechniquesMetering Modes
How Mavica cameras measure light — multi-zone, centre-weighted, and spot metering — and which models offer which options.
Camera TechnologyFlash on Mavica
A guide to the built-in flash on Mavica cameras — modes, range, guide numbers, and tips for getting good results with a small on-camera flash.
Camera TechnologyAperture & F-Stops
Understanding the f-stop numbers listed for every Mavica lens — what they mean for exposure, depth of field, and low-light performance.
Camera Technology