Underwater Mavica Photography: MPK Housings & Technique
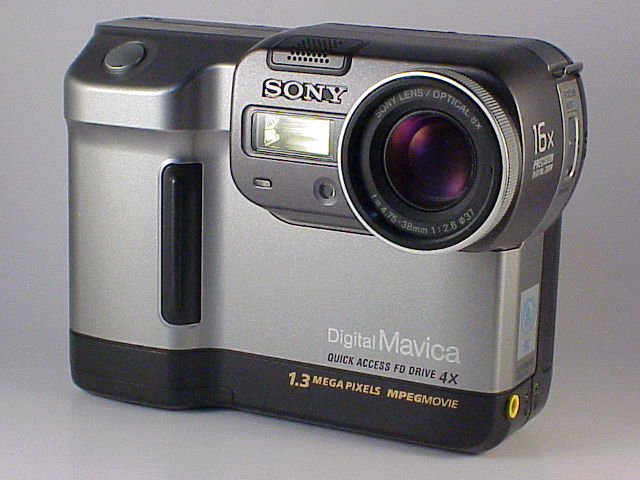
Sony produced dedicated underwater housings for several Mavica models — the MPK series. This guide covers the available housings, compatible cameras, underwater technique with a Mavica, and adapting the approach for modern use.
Sony's MPK underwater housings
Sony manufactured purpose-built underwater housings under the MPK (Marine Pack) brand for many of their consumer cameras, including several Mavica models. These are rigid polycarbonate or aluminium enclosures with O-ring seals, external controls that mechanically link to the camera's buttons, and flat or dome port glass for the lens.
Known MPK housings for Mavica cameras
| Housing Model | Camera Compatibility | Depth Rating | Port Type |
|---|---|---|---|
| MPK-FD5 | FD5, FD51 | 40m / 130ft | Flat |
| MPK-FD7 | FD7 | 40m / 130ft | Flat |
| MPK-FD85 | FD81, FD83, FD85 | 40m / 130ft | Flat |
| MPK-FD88 | FD88, FD90 | 40m / 130ft | Flat |
| MPK-FD91 | FD91 | 40m / 130ft | Flat |
Sony also produced housings for memory stick and CD Mavica models, though these are considerably rarer.
Note: MPK housing model numbers don't always match camera models exactly. Always verify compatibility before purchasing — an FD83 fits in an MPK-FD85, but other combinations may not work.
Third-party housings
Several third-party manufacturers also produced Mavica housings:
- Ikelite: Made clear polycarbonate housings for the FD85, FD88, FD91, and CD500
- Sea & Sea: Produced housings for select FD-series models
- EWA-Marine: Sold flexible vinyl "bag" housings (not rigid) that fit most Mavica models — cheaper but less robust, rated to ~10m
Why shoot underwater with a Mavica?
By modern standards, the resolution is extremely low — but that's part of the appeal:
- Instant results: Dive, shoot, and review on the boat without any processing. The floppy pops out ready to view.
- Lo-fi underwater aesthetic: The combination of 640×480 resolution, heavy JPEG compression, CCD colour rendition, and underwater colour shift creates a uniquely nostalgic look
- Expendable: A used FD85 costs $20–40. If the housing floods, the loss is manageable. Compare this to putting a $2,000 modern camera in an $800 housing.
- Educational: Learning underwater photography fundamentals (buoyancy control, lighting, subject approach) with cheap equipment before investing in expensive gear
Underwater technique
Before the dive
- Inspect O-rings: Remove all O-rings from the housing, clean them thoroughly, and inspect for nicks, cracks, or debris. Apply a thin layer of silicone grease (never petroleum-based lubricant).
- Insert the camera: Ensure the camera is securely mounted and all mechanical linkages (shutter, zoom, power) operate smoothly.
- Fresh floppy: Use a brand-new, formatted floppy disk. Underwater, you cannot change disks.
- Battery: Start with a full charge. Insert the camera with power OFF to conserve battery.
- Test seal: Close the housing, submerge in a sink or pool, and check for bubbles. Wait 5 minutes. If any moisture appears on the inside of the port glass, do not dive.
Shooting underwater
Colour loss
Water absorbs red light first. Below 3 metres depth:
- Red disappears almost completely
- Orange and yellow fade
- Everything takes on a blue-green cast
Mitigation:
- Set white balance to Daylight (not Auto — Auto will try to compensate and produce unpredictable results)
- Shoot in shallow water (0–3m) for the most natural colour
- Use the camera's flash — even in daylight, the flash restores near-field colour at distances up to ~1 metre
- Correct colour in post-processing (boost red channel, reduce blue)
Turbidity and backscatter
Suspended particles in the water create "snow" when lit by the flash. This is backscatter.
Mitigation:
- Get close to your subject (ideally within 1 metre) — less water between lens and subject means less backscatter
- Angle the flash away from directly in front of the lens (on external underwater flash setups). For the Mavica's built-in flash, you have less control — get closer.
- In clear water, disable the flash and rely on ambient light
Focus
Mavica cameras use contrast-detect autofocus, which works well underwater in clear conditions but struggles in:
- Low-visibility water (silt, algae)
- Low-light conditions (depth below 10m)
- Low-contrast subjects (smooth-skinned fish, sand)
For problematic focus situations:
- Use the camera's spot focus mode if available
- Pre-focus on a high-contrast object at the same distance, then recompose
- In macro mode, the FD85 and FD88's autofocus is relatively reliable at close range
Buoyancy
The housing + camera combination is usually slightly negative (sinks). This is intentional — a slightly negative setup is easier to handle underwater than one that floats upward.
Adjust your own buoyancy so you can hold the camera steady:
- Neutral buoyancy is essential — flailing arms cause blurry shots and scare subjects
- Rest the housing on stable surfaces (rocks, coral — only dead coral, never live) for steady macro shots
- Exhale before pressing the shutter to minimise body movement
The floppy disk constraint
Capacity: A standard 1.44 MB floppy holds approximately:
- 15–20 shots at Fine quality (640 × 480)
- 30–40 shots at Standard quality
This is severely limiting underwater. Plan your shots carefully — you cannot swap disks during a dive.
Write speed: Each shot takes 5–15 seconds to write. During this time, the camera is unresponsive. Underwater subjects (fish, marine life) will not wait.
Strategy: Compose carefully, wait for the right moment, shoot once. Don't spray and pray — you don't have the capacity or write speed for it.
Sourcing MPK housings today
MPK Mavica housings are collectible items in their own right:
| Housing | Rarity | Typical Price |
|---|---|---|
| MPK-FD5 / FD7 | Rare | $50–$150 |
| MPK-FD85 | Moderately rare | $75–$200 |
| MPK-FD88 | Rare | $100–$250 |
| MPK-FD91 | Very rare | $150–$300 |
| Ikelite housings | Rare | $100–$300 |
Before buying:
- Inspect the O-ring grooves for corrosion or damage
- Check that the polycarbonate is not yellowed or cracked (UV damage from sun exposure)
- Verify all mechanical button linkages operate smoothly
- Test the seal before any actual dive — submerge empty in a bathtub for 10+ minutes
Post-processing underwater Mavica images
The raw underwater Mavica JPEG will typically be:
- Blue-green cast (colour loss at depth)
- Low contrast (scattering)
- Strong JPEG artifacts (heavy compression)
A basic correction workflow:
- White balance correction: Use the eyedropper tool on something that should be neutral grey or white
- Boost red/orange channels: Manually increase red to compensate for absorption
- Increase contrast: Levels or curves adjustment — bring the histogram endpoints closer together
- Sharpen lightly: Unsharp mask at low strength to recover edge definition
The lo-fi quality is part of the charm — don't over-correct. A slightly blue-shifted, grainy underwater Mavica shot has a unique nostalgic quality that over-processing destroys.
Related Knowledge
White Balance on Mavica
How white balance presets evolved across the Mavica lineup — from auto-only to custom one-push — and tips for getting accurate (or intentionally inaccurate) colour.
Camera TechnologyAutofocus on Mavica
How contrast-detect autofocus works on Mavica cameras — its strengths, limitations, and tips for getting sharp results with a late-1990s AF system.
Camera TechnologyFlash on Mavica
A guide to the built-in flash on Mavica cameras — modes, range, guide numbers, and tips for getting good results with a small on-camera flash.
Camera TechnologyBattery Life & Shot Counts
Realistic battery life expectations for every Mavica model — how many shots you can get per charge, what affects battery drain, and strategies for maximizing time in the field.
Repair & RestorationLo-Fi Aesthetic
The intentional embrace of technical imperfection — low resolution, heavy compression, and CCD character — as an artistic choice.
Techniques3.5" Floppy Disk Photography
How Sony Mavica cameras used standard 1.44 MB floppy disks as their primary storage medium — constraints, workflow, and charm.
Storage & MediaJPEG Compression on Mavica
How the Mavica's aggressive JPEG compression shapes its distinctive image character — artifacts as aesthetic.
Storage & Media