Picture Effects on Mavica
The built-in image effects available on select Mavica models — Solarize, Negative Art, Sepia, and Black & White — and how to use them creatively.
What are Picture Effects?
Picture Effects are in-camera image processing modes that apply a colour or tone adjustment to the photo before it is saved to disk. They were Sony's way of adding creative options to point-and-shoot cameras before smartphone filters existed.
On Mavica cameras, Picture Effects are baked into the JPEG — there is no way to undo them after shooting. This makes them a commitment: choose your effect before pressing the shutter.
Available effects
Solarize
Inverts the tonal values in parts of the image, creating a psychedelic look where highlights become dark and midtones shift dramatically. The effect originated from darkroom photography where a print was briefly exposed to light during development.
On a Mavica, the solarize effect is applied to the JPEG data in-camera. The result varies depending on the scene — high-contrast subjects with strong light/dark boundaries produce the most dramatic results.
Negative Art
Fully inverts the colour and brightness of the entire image, producing a colour negative effect. Bright areas become dark, reds become cyan, blues become yellow.
This can be reversed in post-processing by inverting the image again in any photo editor — so Negative Art is technically the only reversible Picture Effect, though the double-JPEG compression means some quality is lost.
Sepia
Applies a warm brown tint that mimics antique photographs. The camera desaturates the image and maps it to a brown palette. Combined with the low resolution and JPEG artifacts of a Mavica, sepia mode produces convincingly vintage-looking images.
Black & White (B&W)
Converts the image to grayscale. The camera uses a simple luminance conversion — it does not apply channel mixing or coloured filter simulation. The result is a straightforward desaturation.
Tip: For more creative B&W results, shoot in colour and convert in post-processing using channel mixers. This gives you control over which colours map to light vs dark tones.
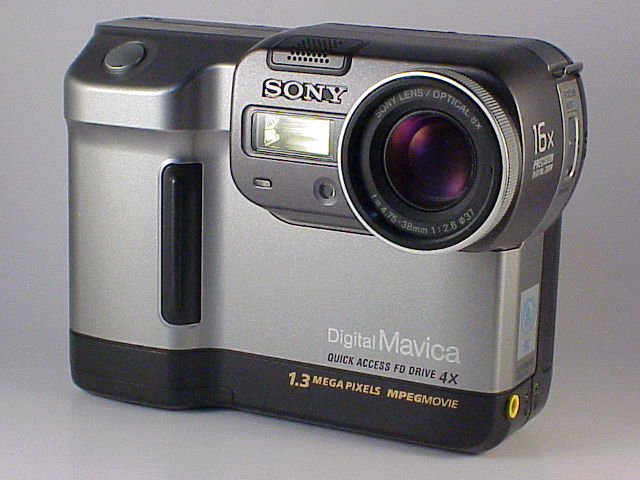
Which models have Picture Effects?
| Picture Effects | Models |
|---|---|
| Solarize, Negative Art, Sepia, B&W | FD73, FD75, FD83, FD85, FD87, FD88, FD90, FD91, FD92, FD95, FD97, FD100, FD200 |
| Solarize, Negative Art, Sepia, B&W | CD200, CD250, CD300, CD350, CD400, CD500, CD1000 |
| None | FD5, FD7, FD51, FD71, FD81 |
The feature was introduced on the FD73 (1999) and included on virtually every subsequent model.
Accessing Picture Effects
- Open the camera menu (MENU button)
- Navigate to Picture Effect (sometimes labeled PFX or P.EFFECT)
- Select the desired effect
- The LCD preview shows the effect in real-time
- Take your photos — all images will use the selected effect
- To return to normal, go back to the menu and select Off
The real-time LCD preview is helpful for composition — you can see exactly how the effect will look before shooting.
Creative combinations
Solarize + Long Exposure
On models with manual exposure, set a slow shutter speed (1/2 to 1 second) and use Solarize. The motion blur combined with the solarization creates surreal, otherworldly images.
Sepia + Macro
Close-up shots of flowers, old books, or vintage objects in sepia mode produce a genuinely antique aesthetic. The Mavica's low resolution and JPEG compression enhance the time-worn look.
B&W + High Contrast Scenes
Shoot architecture, street scenes, or portraits in B&W mode. The harsh JPEG compression artifacts become part of the monochrome aesthetic rather than a distraction.
Negative Art + Nature
Trees, clouds, and water bodies in Negative Art create alien landscape effects. The inverted sky becomes dark while foliage turns bright magenta and cyan.
Practical tips
- Shoot duplicates: Take one frame with the effect and one without, so you have a normal version as backup.
- On floppy models, effects are "free": They don't take extra disk space — a Solarize JPEG is the same size as a normal JPEG.
- Preview before committing: The real-time LCD preview is accurate for Sepia and B&W but can look slightly different from the final saved image for Solarize.
- Don't forget to turn it off: It's easy to leave Picture Effects on accidentally. Check before your next shooting session.
Related Knowledge
White Balance on Mavica
How white balance presets evolved across the Mavica lineup — from auto-only to custom one-push — and tips for getting accurate (or intentionally inaccurate) colour.
Camera TechnologyLo-Fi Aesthetic
The intentional embrace of technical imperfection — low resolution, heavy compression, and CCD character — as an artistic choice.
TechniquesJPEG Compression on Mavica
How the Mavica's aggressive JPEG compression shapes its distinctive image character — artifacts as aesthetic.
Storage & Media